Use the map
Clicking on the location icon  from the observation detail screen will take you to the map screen. Here you can view the current position and manually add a location for the observation on a map. Note that use of a map requires a network connection. Offline maps are not yet supported.
Map screen
The map screen shows the current GPS position by an animated icon:

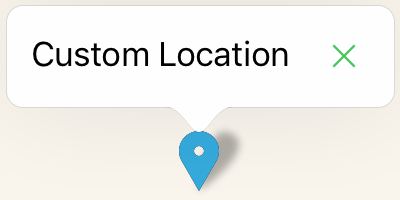
A custom location is shown by a marker with a label “Custom Location”:
You can move around by dragging the map across the screen. You can zoom in or out by pinching with two fingers, just like in the regular map app. Note that the accuracy of the manual position is linked to the zoom level. The accuracy will increase when you zoom in further. If you zoom out too far, the position may be too inaccurate to be accepted. To fix this, just zoom in and place the pin again. You can use this to manually set an accuracy.
Toolbar
On the bottom bar you’ll see the GPS coordinates and accuracy:

If the accuracy is too low, the coordinates are displayed in red.
You can use the visor icon  to switch between three views:
- The map around the current GPS position
- The map around the manual position
- The map with both positions in view
You can change map options by using the config icon  .
.
Map options
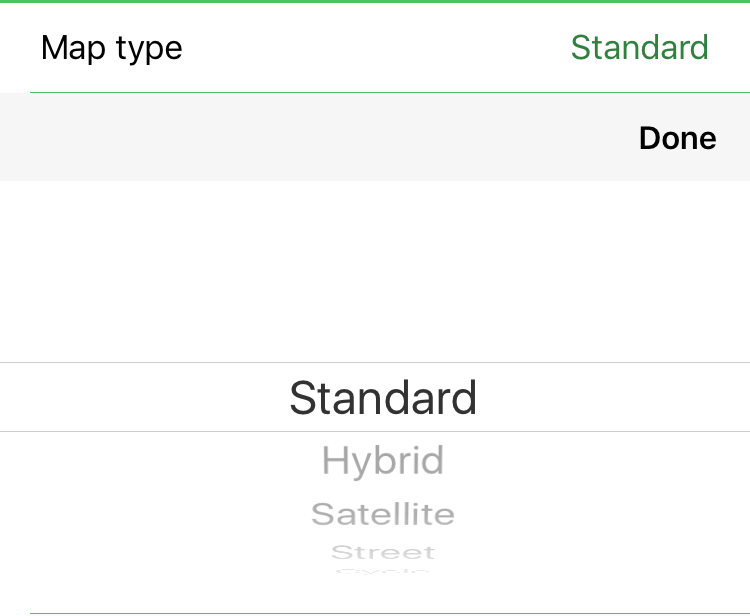
In map options you can set a map type. iObs supports the three map types from Apple, Standard, Satellite and Hybrid, and furthermore three maps based on OpenStreetMap, Street, Cycle and Outdoors. The default type is the Standard map from Apple. Click on “Map type” to open the picker and select an other map type.
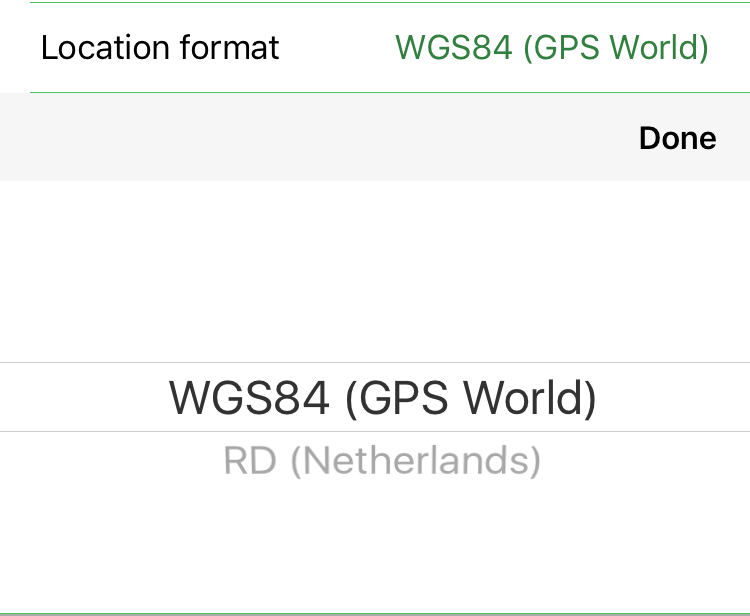
The location is displayed in degrees and decimals according to WGS84, the standard format for GPS positions. You can choose to use RD-coordinates in the Netherlands. If you have set RD-coordinates but you are outside of the area that is valid for RD, iObs will display the location according to WGS84. Click on “Location format” to open the picker and select a location format.
When you are ready with setting the map options, click on “Done” on the navigation bar and you will return to the map.
Entering a manual position
Enter a custom position by long clicking somewhere on the map. A marker will be dropped on the given position. You can make corrections by long clicking on another point on the map. To reposition the marker you can also move the marker by long pressing on the marker itself. It will shoot up from under you finger, and then you can drag the marker to another location and release. Note that the pointer of the marker indicates the exact position where it will be dropped, so repositioning can be done very accurately.
Note that you cannot change the position for an observation that is already uploaded.
Switch back to GPS position
When you have added a manual position for a new observation, this manual position will be used for all next observations. If you want to switch back to using the current GPS position, you can click on the delete icon  on the marker’s label. Alternatively, you can use the reset icon
  on the observation details screen.